Every reputable professional mechanic knows how to install a thermostat properly because they have done it many times. However, for some car owners, this process can be a bit confusing, and they could end up installing the thermostat in the wrong direction.
Can You Put a Thermostat In Upside Down?
You can’t install a thermostat upside down in a car because it will not fit perfectly inside the housing. On top, installing the thermostat upside down has the same effect as leaving the thermostat stuck closed. It causes the engine to overheat, leading to destructive effects like warped cylinder heads or a blown head gasket.
That is why I highly recommend referring to the owner’s manual on properly installing a thermostat in your car. This way, you will avoid unnecessary heating problems that could endanger your vehicle’s engine.
Read Can You Remove The Thermostat In A Car?
Which Way Does the Thermostat Really Go In?
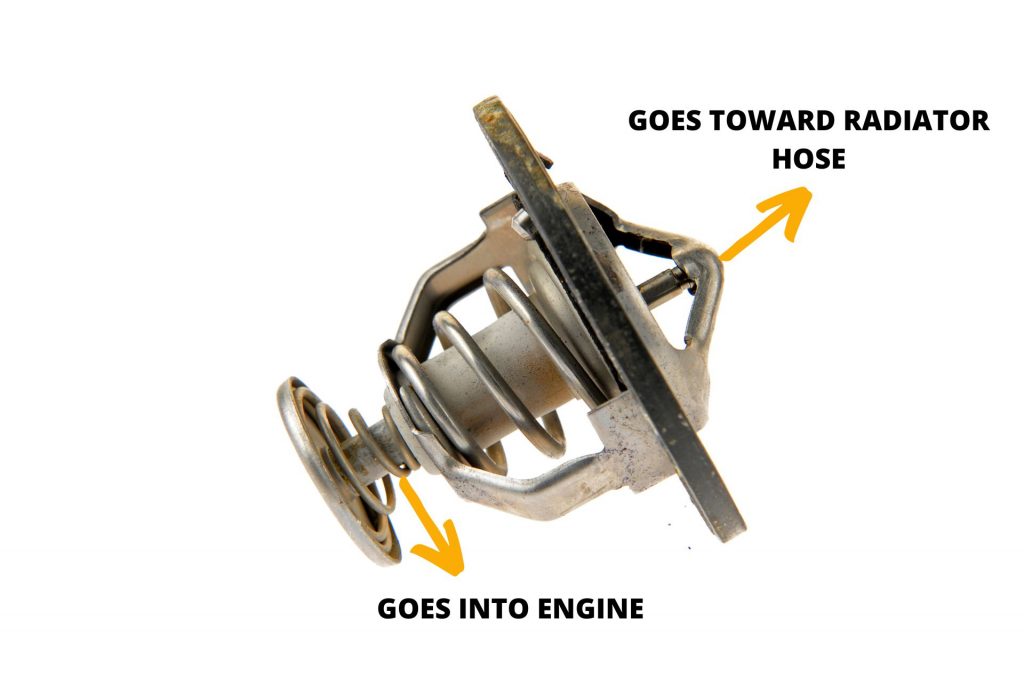
- Ensure that the thermostat’s shorter-end points to the radiator hose and not the engine.
- On the other hand, the thermostat’s deeper end is supposed to point towards the engine.
- Additionally, you should install the thermostat with the jiggle valve pointing downward or per the owner’s factory service manual.
Does the Direction of the Thermostat Matter? What Happens If I Install It Backwards?
Installing the thermostat in the wrong direction will cause the engine to overheat rapidly, and the cooling system will fail. You must install a thermostat in the correct direction to avoid extensive damage to the aluminum components in your vehicle’s engine.
How to Properly Install a Thermostat in a Car?
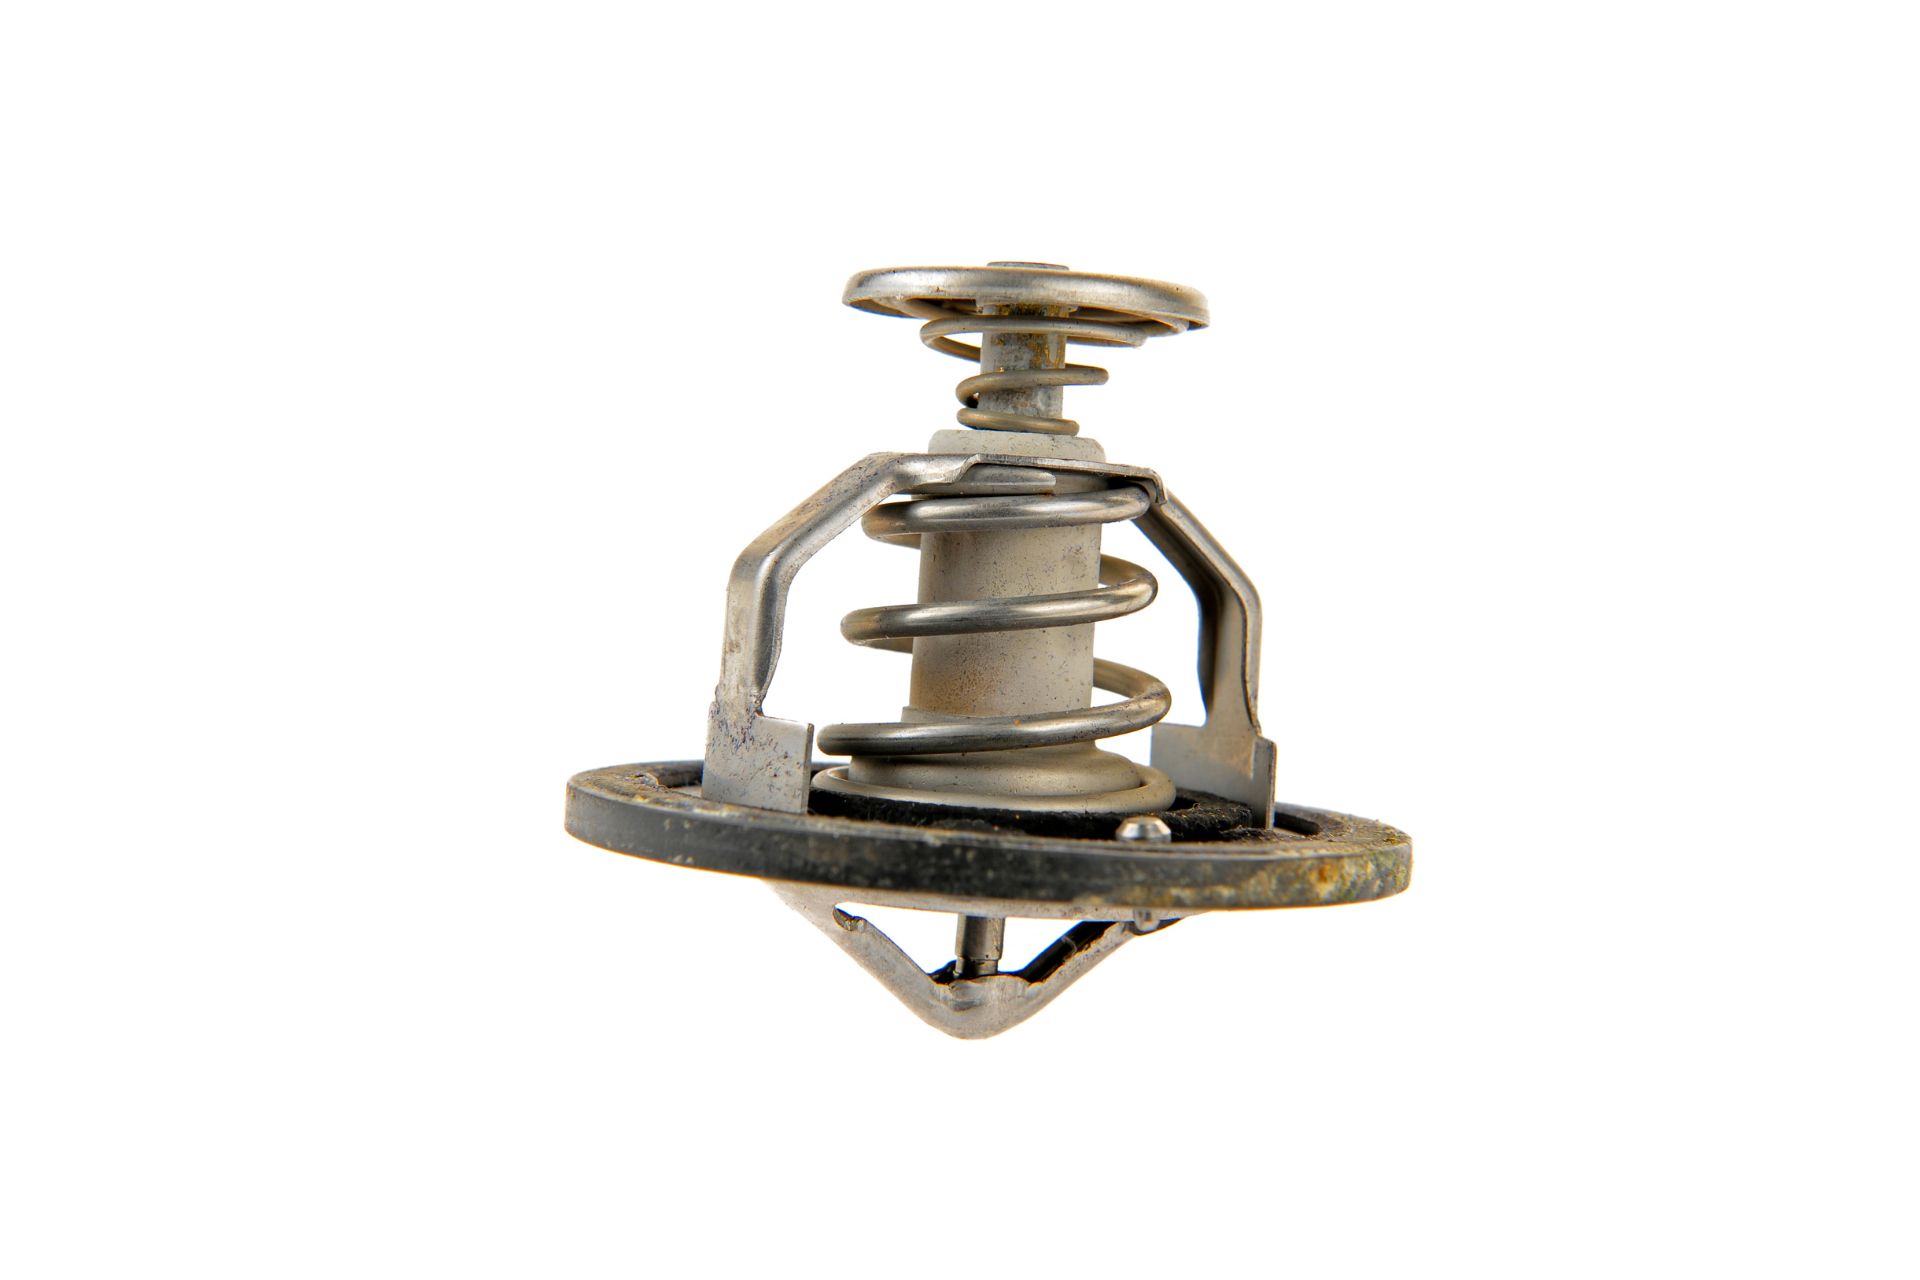
A vehicle’s engine must operate at an optimum temperature to achieve peak performance. A thermostat is a vital component of the engine’s cooling system that regulates the amount of coolant flowing through the engine to prevent it from overheating.
The thermostat must maintain its closed position when the coolant is cold. On the other hand, when the coolant is hot, the thermostat allows it to flow to the radiator.
Even though most people know about the thermostat’s work as part of the engine’s cooling system, not all know how to install one properly. Fortunately, it only takes a few minutes to install a new thermostat if you have the right tools. Some of the tools you will need for this task include:
- A new thermostat
- A clean rag
- Screwdrivers/pliers
- Small plastic scraper/wire brush
- Gasket and gasket sealant
- Small socket wrench
- Catch pan or a bucket
- Fresh coolant if necessary
- A small adjustable wrench
Check the detailed video guide on installing a thermostat in your car.
Cool the engine
The first step when installing a thermostat is to park your vehicle on level ground and wait for your engine and radiator to cool down. Your vehicle’s engine should take approximately an hour to cool down.

You can also open your vehicle’s hood to help the engine cool down faster. Do not attempt repairs with a hot engine, as the hot coolant could easily burn you.
Drain some coolant
Replacing a thermostat is not exactly a neat process. Some coolant will likely be dripping on the floor as you work. Therefore, placing a bucket or a catch pan underneath the old thermostat’s location is best to prevent the coolant from dripping and creating a mess. Use a screwdriver or pliers to take the cap off the radiator and drain about a third of the coolant.
You drain the coolant to prevent it from splashing on other vital components as you remove the upper radiator hose. This is because coolant is renowned for causing materials like rubber to deteriorate over time.
When changing the thermostat, you do not need a huge bucket to collect the coolant. Most of the time, the coolant inside the coolant reservoir could be a couple of quarts.
Access the thermostat housing and remove the old thermostat
Once you have drained some coolant, locate the thermostat housing. Depending on how your old thermostat is mounted to the radiator inside your vehicle, you may have to uninstall the air filter assembly to access the thermostat housing.
You will also need to remove the clamps securing the thermostat housing before disconnecting the thermostat from the radiator or engine block.
After removing the clamps, you may notice that the thermostat is not coming off easily, especially if you have not changed it for a long time. If this is the case, insert a thin screwdriver between the radiator hose and the fitting to lift the old thermostat using a pair of pliers.
Compare the old thermostat with the new one
After removing the old thermostat and the gasket, cover the opening on the engine using a clean rag to prevent sealant material from entering the engine. You can now compare the old thermostat with the new one before installing it.
The old and new thermostat’s temperature listings should be the same. If not, the new thermostat will not function properly.
You also want to ensure that the new thermostat matches the thermostat housing’s flange. This way, the coolant will not leak once you have installed the new thermostat. You should also mind the alignment of the old thermostat before installing the new one.
Ensure you check where the bleed pinpoints because you are supposed to install the new thermostat with the bleed pinpointing in the same direction. Fortunately, most new thermostats come with a guiding tab that will direct you to prevent misaligning the thermostat.
Clean the thermostat housing and engine flanges
At this stage, use a plastic scraper or wire brush and clean all the residue left by the old thermostat. You want to clean the engine flange until it is smooth. If you do not remove this residue, the thermostat housing will not fit as it should. This will cause the coolant to leak.
Also, do not use excessive pressure when using the plastic scraper to remove the residue. This is because the thermostat housing is made of aluminum and could easily dent.
Apply the right sealant
Some thermostats today come with rubber seals or gasket sealants, while others don’t. If your thermostat does not have either, purchase the proper sealant recommended in the owner’s manual. Ensure that you do not apply an excess sealant to avoid damaging the oxygen sensor and tampering with the engine performance.
Install the new thermostat
Install the new thermostat where the ring fits in the port and the spring sensor faces the engine. You should slide the new thermostat into the port so that it fits tightly and the coolant does not leak. Once the new thermostat is in place, re-attach the hoses and refill the coolant.
After refilling the coolant, you can reinstate the radiator cap and tighten it. This way, the coolant will not splash or leak once you hit the road. Also, it is worth noting that if you do not reinstate the radiator cap, the thermostat may not function, and your engine will overheat.
Start the engine to test the new thermostat
Turn on the ignition and leave the engine idle for at least 10 minutes. This will warm up the engine and activate the new thermostat.